A San Jose commercial roof leak insurance dispute often turns on whether the leak resulted from sudden storm or impact damage and whether the policy covers that cause. The claim generally depends on clear damage documentation and the policy terms; commercial policies often cover sudden storm or impact damage. The insurer uses the policy and its damage assessment to decide what repairs or replacement may be covered.
A commercial roof leak can disrupt operations and leave a San Jose property owner weighing urgent mitigation against uncertainty about an insurance claim. Keep the evidence organized: photographs, repair estimates, receipts, and correspondence can help show what happened and how the damage developed.
This article explains how a commercial roof leak claim moves from discovery to the insurer’s decision, what to document across the roof and interior, and how repair-versus-replacement questions may be assessed. You’ll also learn what claim decisions mean for next steps, so you can build a clearer record and understand the issues at stake.
Key Takeaways
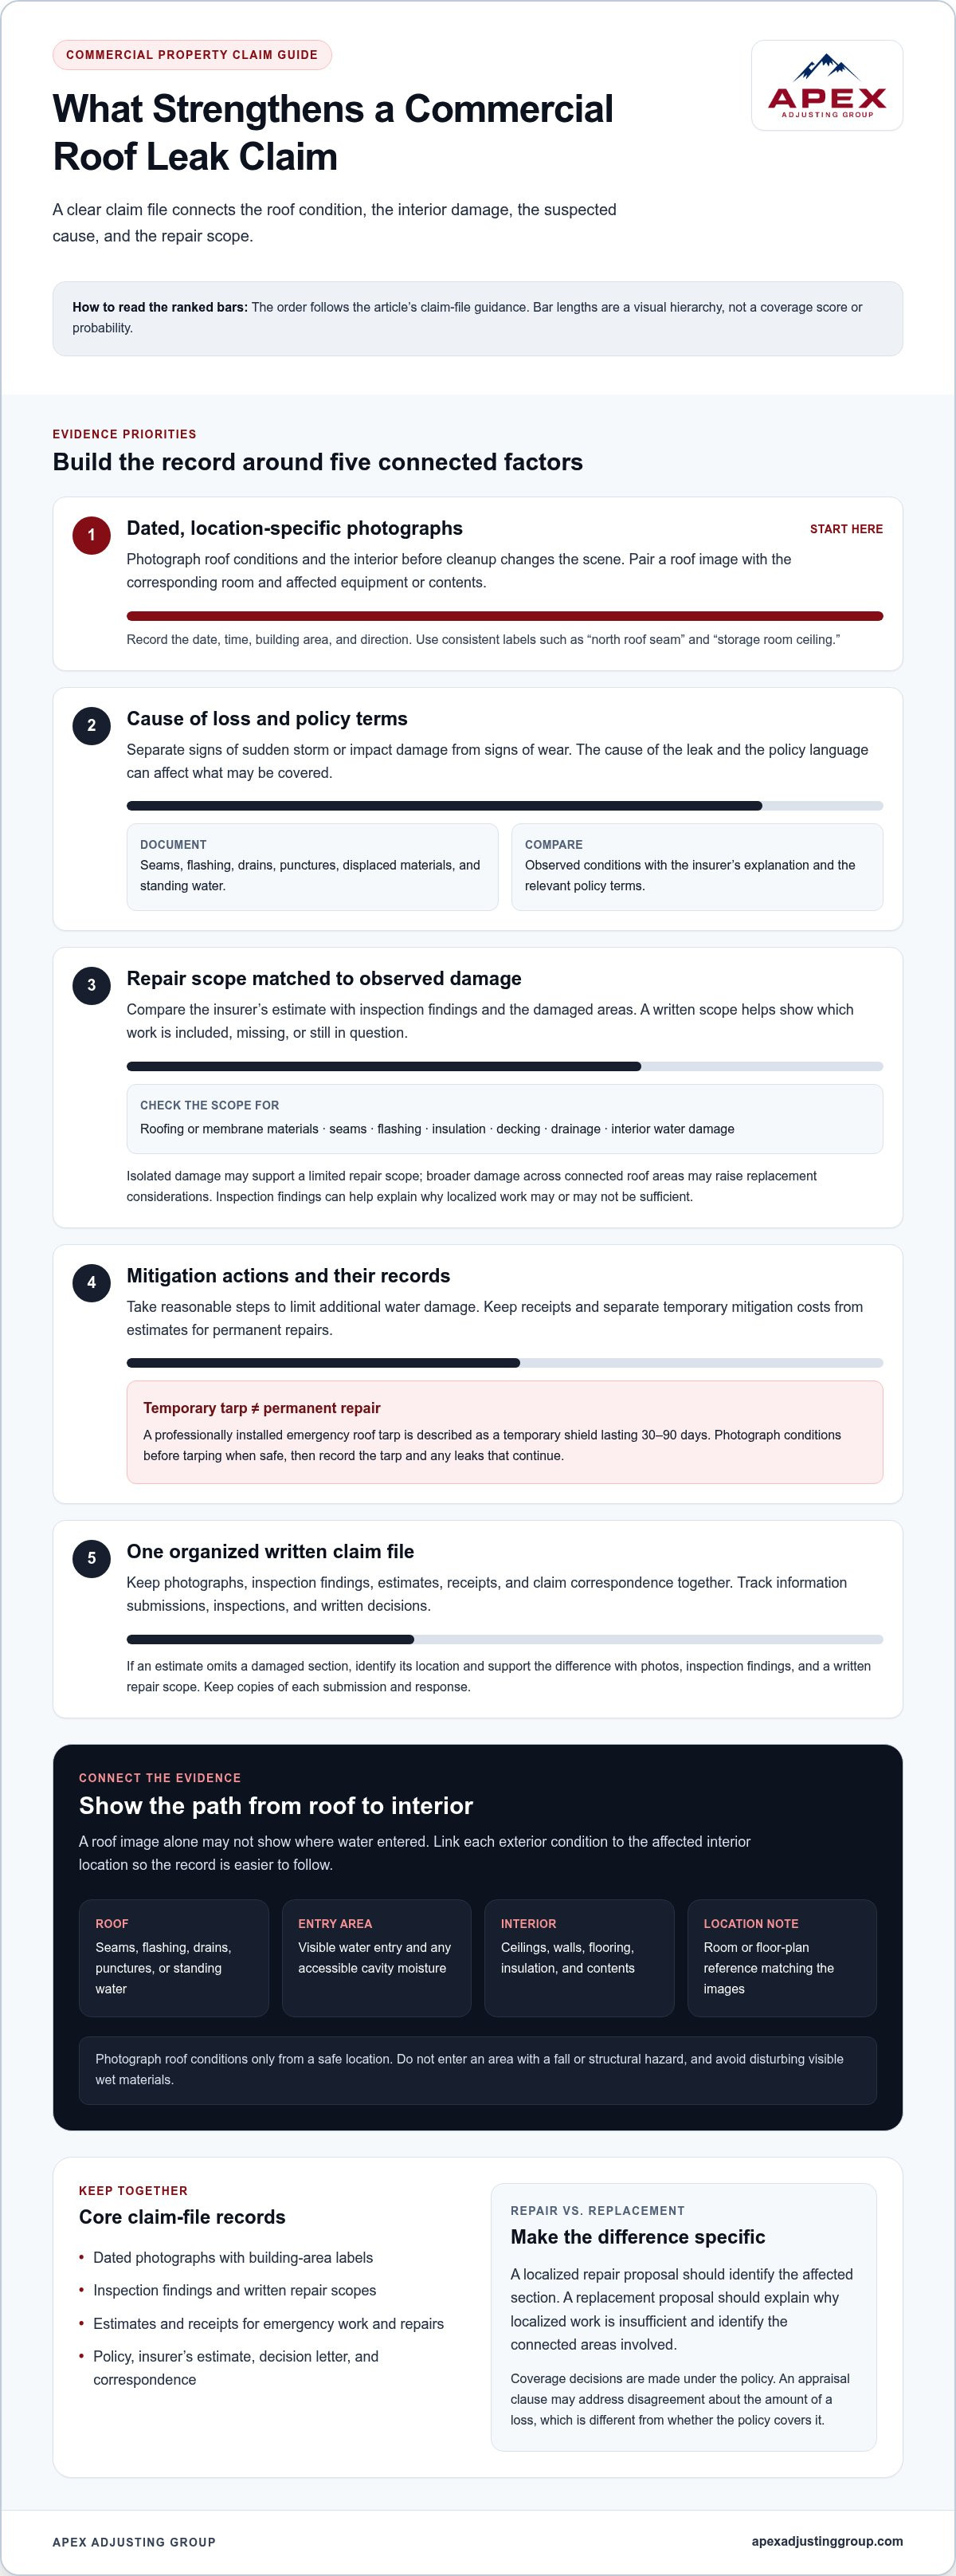
- Photograph roof conditions, interior water damage, and affected equipment, and keep the images organized with dates and locations.
- Compare the insurer’s scope with the observed damage and the policy terms before deciding whether repair or replacement is supported.
- Separate sudden storm or impact damage from signs of wear, since the cause of the leak can affect coverage.
- Take reasonable steps to limit further water damage and preserve receipts, estimates, and claim correspondence.
- Build a clear claim file with inspection findings and supporting records so gaps in the insurer’s assessment are easier to identify.
Photo documentation of roof and attic damage
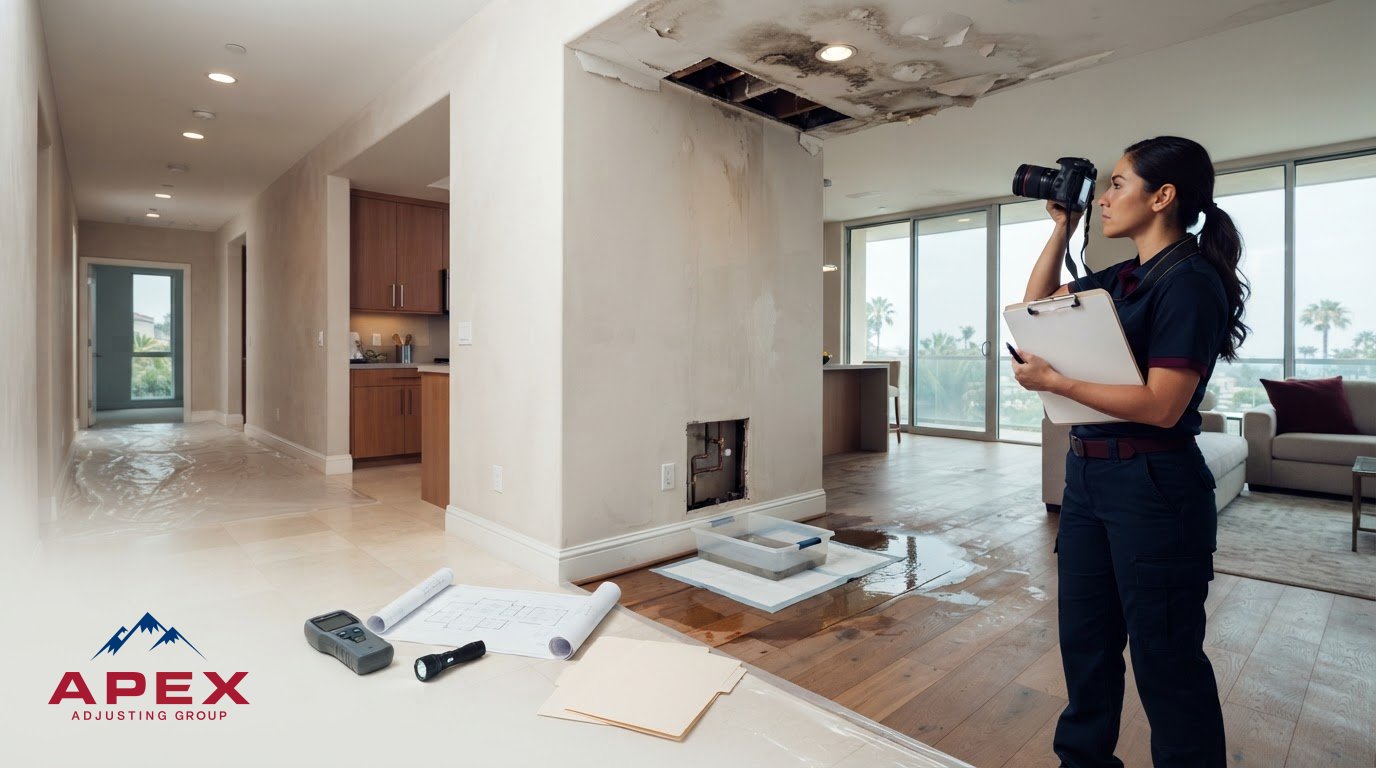
Start documenting as soon as a commercial roof leak appears. Photograph the roof area, visible water entry, and affected rooms before cleanup changes the scene. For example, capture a ceiling stain and the equipment or inventory beneath it. Add wide views to show the room’s location, followed by closer images of each damaged surface.
Record the date, time, building area, and direction for each photograph. Use consistent labels such as “north roof seam” or “storage room ceiling” so images can be matched to an inspection report. Photograph the same areas again after rain or mitigation work. These comparisons can show whether water intrusion continued or conditions changed.
Capture the path from roof to interior
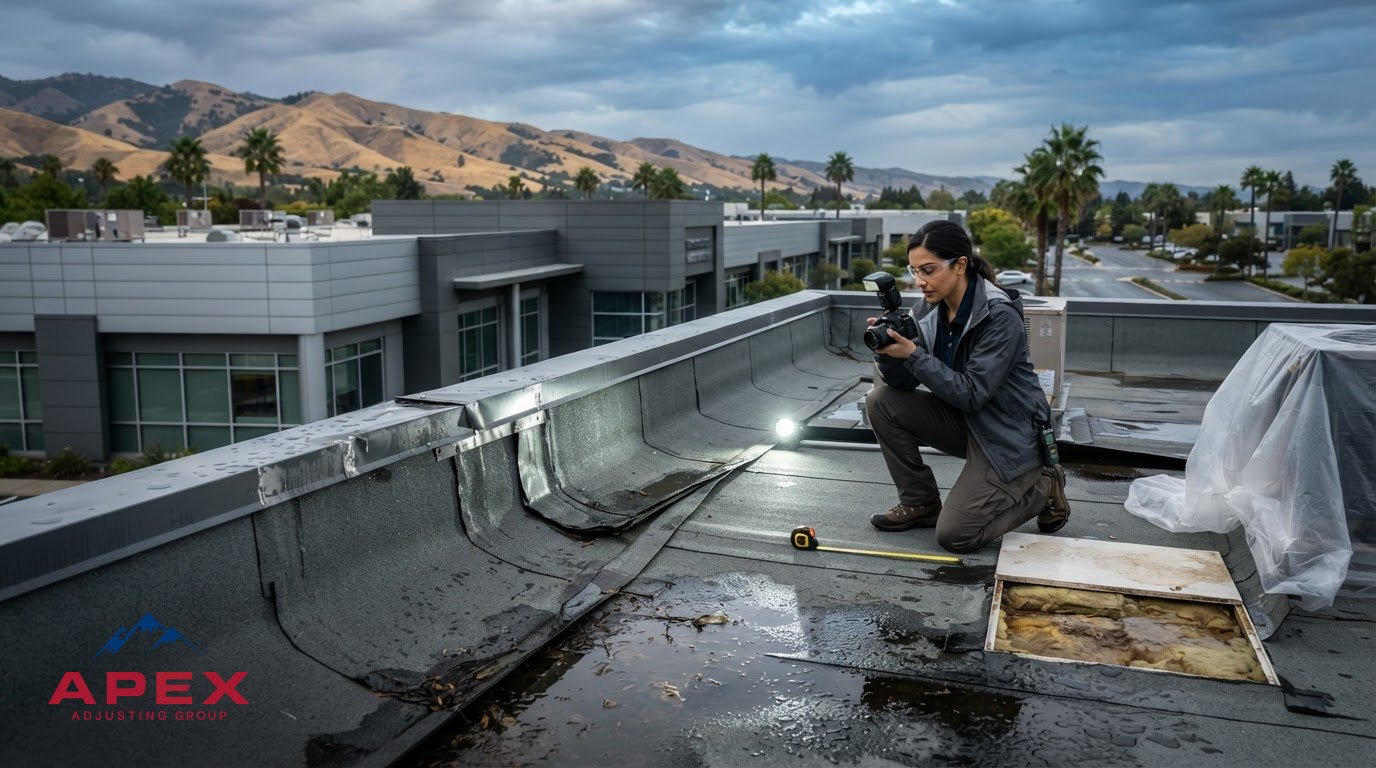
Document roof conditions visible from a safe location, including seams, flashing, drains, punctures, displaced materials, and standing water. Don’t enter an area with a fall or structural hazard. Inside, photograph ceiling damage, exposed wet insulation, wall staining, flooring, and affected contents. If an attic or roof cavity is accessible, record visible moisture, staining, and damaged materials without disturbing them.
Tie each image to a specific location. A photograph of a roof seam alone may not show where water entered the occupied space. Pair it with an interior view and a simple floor-plan note identifying the corresponding room. This gives the inspector a clearer record and helps distinguish one leak path from another.
Build a written record of scope
Keep receipts, estimates, inspection findings, and claim correspondence with the photographs. Request a written inspection report identifying observed damage, likely affected materials, and the proposed repair scope. A useful scope separates roof membrane work from flashing, insulation, decking, ceiling finishes, and damaged contents. For example, a roof patch estimate should identify the affected section, while an interior estimate lists the wet ceiling area separately.
Use inspection findings to frame the repair-versus-replacement question. A professional roof inspection can help determine whether storm damage calls for repair or replacement. Isolated damage may support a limited scope, while broader damage across connected roof areas may raise replacement considerations. The insurer makes coverage decisions under the policy, so compare its written assessment with the documented damage and inspection findings.
If water is entering, take reasonable steps to limit additional damage and keep receipts for emergency work. A professionally installed emergency roof tarp is a temporary shield lasting 30-90 days, not a permanent repair. Photograph the roof and interior before tarping when conditions permit, then document the tarp and any remaining leaks. Preserve the original images, written scopes, and repair records together; that organized file can clarify what changed from discovery through mitigation.
Roof repair or replacement after the insurer's decision
An insurer’s decision sets out the scope it accepts, but the roof’s repair needs still require careful comparison. For a California commercial claim, timing depends on investigation steps, roof access, and requested records. Track when information is submitted, inspections take place, and written decisions arrive so the claim’s progress stays clear.
Compare the insurer’s estimate with the roofing inspection and the damaged areas. Check whether the scope includes membrane or roofing materials, seams, flashing, insulation, decking, drainage, and interior water damage. For a warehouse, a localized seam failure may call for a focused repair; widespread storm damage across connected sections may support evaluating replacement. A professional inspection helps assess whether the damage calls for repair or replacement.
Disputes can involve both scope and coverage. If the estimate omits a damaged section, identify its location and support it with inspection findings, photographs, and a written repair scope. If the insurer denies coverage, compare its explanation with the policy language and documented cause of loss. An appraisal clause may address disagreement about the amount of a loss, which is different from whether the policy covers it.
For an underpayment or denial, organize the policy, decision letter, inspection report, estimates, and new evidence into one supplemental submission. Explain each difference plainly: identify, for example, a flashing repair missing from the estimate and attach the contractor’s scope. Ask the insurer to review the disputed items and provide its position in writing. Keep copies of every submission and response.
Temporary protection and permanent work
Temporary tarping limits further water entry, but does not settle the permanent repair scope. Keep the tarp installation record and document any leaks that continue afterward. Before permanent work begins, compare the approved scope with the proposed roofing work, including materials, labor, drainage details, and affected interior areas. For industrial buildings, include operationally affected spaces and equipment in the damage record.
Emergency repair costs depend on the roof system, damaged area, access, and work required. Separate temporary mitigation from permanent repairs in estimates and receipts so the claim file shows what each charge addresses. A limited repair scope may leave related damage unaddressed; a replacement proposal should explain why localized work is insufficient.
Businesses seeking claim support can look for a licensed firm that represents property owners. A public adjuster handles insurance claim representation; an attorney handles legal representation. Keep those roles distinct when deciding what support fits the dispute.
When the insurer’s estimate and documented roof scope don’t align, a free claim review can help identify the disputed items and records to organize.
Storm, wind, seam, flashing, and ponding leaks
A commercial roof leak’s cause matters because the policy’s terms govern coverage. Commercial policies may cover sudden storm or impact damage, such as wind lifting roof components or a branch striking a membrane. In San Jose, compare the reported event with inspection findings. A sudden opening at a roof seam differs from water entering through a seam that deteriorated over time.
Inspect the full water path, not just the ceiling stain. Wind can loosen flashing at a parapet or rooftop unit, while failed seams can let water beneath a membrane. Check roof edges, penetrations, drains, and the interior below each suspected entry point. A leak far from its source does not establish where water entered; trace the path through the roof assembly and building.
Ponding water calls for close attention to drainage. Record blocked drains, standing water, low spots, and nearby membrane seams. For example, water remaining beside a drain after rainfall may point to a drainage concern, while newly displaced flashing may indicate impact or wind damage. An inspection should distinguish observed conditions from the proposed cause and identify affected roof areas.
Maintenance history helps explain whether damage followed a covered event or developed gradually. Gather prior roof inspections, maintenance records, repair invoices, and notes about earlier leaks. A sudden opening after a storm differs from recurring water intrusion around a seam with documented deterioration. Commercial policy language controls how causes and exclusions apply; homeowners policies are not a substitute for reviewing the commercial property policy.
Interior water damage can extend beyond visible ceiling marks. Check insulation, wall finishes, stored materials, and equipment near the leak. If mold is visible, photograph its location and record affected materials and any moisture source identified during inspection. Tie the assessment to observed conditions, such as staining below a roof penetration, rather than assuming mold establishes when or how the leak began.
Organize findings by roof area so the claim file connects cause, damage, and scope. Note whether wind-related damage involves one roof section or several, and whether flashing, seams, or drains appear affected. Compare maintenance records with inspection observations and relevant policy provisions. This evidence can clarify whether the dispute concerns a sudden storm event, gradual deterioration, drainage, or a combination of conditions.
Actions to take after finding a leak
Act promptly when water enters a San Jose commercial building. Commercial policies require prompt action to mitigate damage, so address active water intrusion while preserving claim evidence. Keep employees away from wet areas and affected equipment. If water reaches electrical systems, restrict access and contact qualified building personnel before entering.
First, identify where water is entering and where it is spreading. Place containers beneath active drips when practical, and move inventory away from wet floors. Photograph the roof area from a safe location, then capture ceiling stains, soaked materials, and affected equipment. Note the time, room, and conditions for each image.
Next, arrange temporary protection or emergency roof work to limit additional water damage. Emergency commercial roofing crews typically reach San Jose roofs in 45-60 minutes. Record the contractor’s arrival, work performed, materials used, and any areas still leaking. Keep invoices and receipts, and separate temporary mitigation from permanent repair estimates.
Notify the insurer through the claim channel listed in the policy. Provide the date the leak was found, the suspected cause, affected building areas, and mitigation steps already taken. Save the confirmation and every message. Track each requested document submission and keep copies with the claim file.
Ask the roofing contractor for a written inspection and itemized scope. It should identify the roof section, observed damage, proposed work, and interior areas needing attention. For example, a warehouse estimate can separate a damaged membrane seam from wet insulation and ceiling repairs. Compare those items with the insurer’s inspection findings, not just the total estimate.
- Photograph visible roof and interior conditions before cleanup changes them.
- Limit further water entry and protect contents without disturbing damaged materials unnecessarily.
- Keep contractor reports, receipts, estimates, and insurer correspondence together.
- Record what mitigation addressed and what damage remains for inspection.
At the inspection, point out each affected area and explain how the leak progressed. If water appeared near a roof drain, identify the location and describe any observed ponding. Don’t state a cause beyond what the evidence supports. The inspection should assess roof conditions, water pathways, and the extent of interior damage.
Before authorizing permanent work, compare the contractor’s scope with the insurer’s written assessment. Flag omitted work by location and supporting documentation. For a San Jose commercial roof leak insurance dispute, an organized timeline can show when the leak began, what action limited further damage, and which items remain unresolved.
What evidence and documents help support a commercial roof insurance claim?
A strong claim file connects the reported cause, physical roof conditions, interior damage, and requested work. Organize documents by category, labeling each record with its date and building area. For example, file a roof inspection under “north section” and link it to photographs of the affected ceiling below.
Keep the policy and claim records together. Include the declarations page, relevant endorsements, claim submission, insurer requests, inspection notes, decision letter, and supplemental responses. Compare the insurer’s written explanation with the policy language and submitted evidence. If the decision addresses only membrane damage, note whether flashing, insulation, or interior repairs appear in the assessment.
- Roof inspection reports describing seams, flashing, drains, membrane, and observed damage.
- Interior assessments identifying wet ceilings, insulation, walls, equipment, or inventory.
- Written contractor estimates that separate labor, materials, mitigation, and permanent work.
- Maintenance logs, prior repair invoices, and records of earlier leaks in the same area.
- Receipts for emergency protection, cleanup, and other work tied to the reported leak.
- Claim correspondence, inspection appointments, and the insurer’s written coverage decision.
Preserve original photographs and videos, not just screenshots inserted into reports. Use file names that identify the date and location, such as “loading-area ceiling after rain.” Keep a separate log linking each image to an inspection finding or estimate line. This makes it easier to find evidence when the insurer asks about a particular roof section.
Build a timeline from the first observed leak through mitigation and inspection. Record who discovered the water, which rooms or operations were affected, when the insurer was notified, and what contractors did. For a warehouse, connect the roof location to affected stored materials or equipment. Keep inventory records or internal damage reports identifying items and observed conditions.
Written scopes should explain the work, not just give a total. A useful estimate identifies the damaged area, proposed repair method, materials, and related interior work. If replacement is proposed, the contractor’s report should describe the observed conditions supporting that scope. Compare each estimate line with the inspection findings and insurer assessment; flag omissions by location and document.
Before sending a supplemental packet, create an index listing each attachment and the issue it supports. For example, pair a roof inspection with the estimate for the same seam, then attach interior records for the corresponding leak area. Keep copies of the complete submission and response in the claim file, and consider a free claim review if you need help assessing the documentation.
Apex Adjusting Group: Fire Damage Claims
Apex Adjusting Group represents property owners, never insurance companies, in first-party property damage claims. For a commercial roof leak, its Commercial Property Claims service may fit when an active or recent claim appears underpaid, delayed, or denied. The firm can review the claim file, including the insurer’s scope, inspection findings, estimates, and correspondence, then represent the property owner in the adjustment process.
Apex Adjusting Group works on a contingency basis, charging a fee only when it obtains a settlement. A claim review can help clarify whether its support fits the dispute and what records are relevant. The firm also handles Fire Damage Claims, Water Damage Claims, and Residential Property Claims.
Contact Apex Adjusting Group for a free claim review.
Set the Next Claim Step With Confidence
A San Jose commercial roof leak insurance dispute can be harder to manage when unresolved scope questions are buried in a large claim file. Before the next discussion, write down the decisions still affecting the property: disputed damage areas, the stated cause, omitted repair items, or the steps needed to resume normal operations. Tie each point to a document or inspection finding so the conversation stays focused on the claim, not assumptions.
Use the insurer’s latest position to identify what needs clarification. A clear record of open issues gives the property owner a practical basis for deciding whether to submit additional material or seek claim representation. Move forward with a defined question and the records that support it.
Have your commercial roof claim file reviewed
A measured next step can put the claim back on a clear path.
Frequently Asked Questions
How Does a Claim for Roof Leaks Work?
A roof-leak claim starts with notice to the insurer and a description of the event, damage, and affected property. The insurer reviews the policy, inspects the reported loss, and evaluates the evidence before issuing a coverage decision. If the decision omits damage or repair work, the business can organize supporting records and request review of specific items. Keep all communications and submissions together in one claim file.
What Types of Damage Due to Roof Leaks Is Typically Included?
Claim documentation can cover roof-system damage and resulting damage inside the building. For example, a file might describe a storm-damaged membrane, wet insulation, stained ceiling materials, damaged inventory, and affected equipment. These are categories to document, not automatic coverage guarantees. The policy and evidence connecting the damage to the reported cause guide the insurer’s assessment. Separate roof repairs from interior restoration and contents in estimates.
Does commercial property insurance cover roof leaks and resulting water damage in California?
Commercial property insurance may cover a roof leak caused by a sudden covered event, subject to the policy’s terms and exclusions. A storm that damages roofing materials presents a different claim question from water entering through a long-standing defect. Document the roof condition and resulting interior damage, then review the policy provisions cited in the insurer’s decision. Coverage for each damaged item depends on its connection to the covered cause.
What exclusions apply to commercial roof leak insurance claims, such as wear and tear or poor maintenance?
Commercial policies may exclude damage attributed to wear, neglect, or gradual deterioration. Aging seams or recurring leaks can prompt questions about maintenance and when the damage occurred. Records of prior inspections, repairs, or leak reports help establish the roof’s condition before the reported event. Compare the insurer’s stated exclusion with the policy wording and evidence; don’t assume every resulting interior condition receives the same coverage treatment.
How do California policies distinguish sudden roof damage from gradual leaks?
The distinction generally turns on the cause and progression of damage described in the policy and supported by evidence. A roof component newly displaced after a storm differs from repeated seepage documented around a deteriorated seam. Inspection observations, maintenance history, repair records, and the timeline of interior staining can help explain the difference. Note what changed after the event and what conditions existed beforehand, without asserting a cause that inspection findings don’t support.
What steps should a San Jose business take after discovering a roof leak?
Protect people and property first, then notify the insurer and document the incident. Restrict access around water near electrical equipment, move vulnerable inventory, and record affected rooms and business operations. Arrange appropriate mitigation, keeping invoices separate from permanent repair estimates. Preserve damaged materials when practical and note any items that must be moved or discarded. For a San Jose business, an incident log can connect discovery, mitigation work, inspections, and operational effects.
Need Help with Your Insurance Claim?
Our licensed public adjusters can help you get the maximum settlement you deserve. Contact us today for a free claim evaluation.
Related Articles